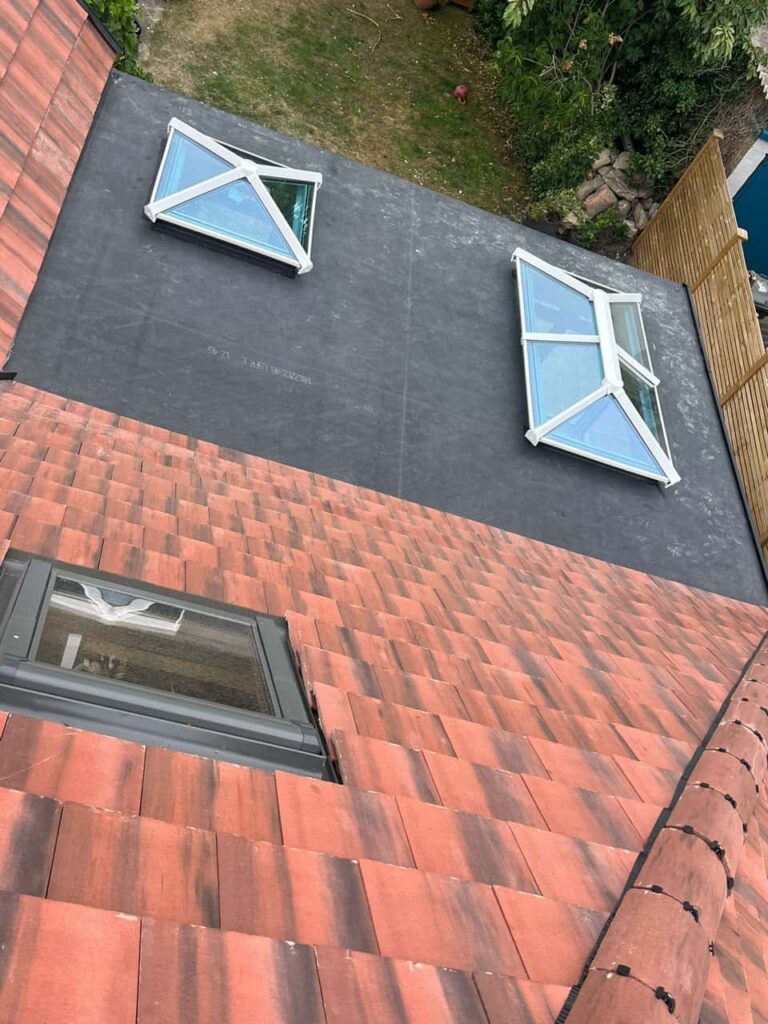
Introduction: Roof leaks can arise unexpectedly and disrupt the comfort and safety of your home. In this comprehensive blog post, presented by Eastwood Roofing Repairs, we’ll take you through a real-life case study of repairing a leaking roof. By examining the step-by-step process, you’ll gain insights into the meticulous approach professionals take to resolve leaks and restore your home’s protection.
Case Study: Repairing a Leaking Roof
1. Initial Assessment:
- The homeowner contacted Eastwood Roofing Repairs after noticing water stains on their living room ceiling. A thorough inspection was conducted to identify the source of the leak.
2. Identifying the Problem:
- The inspection revealed that the leak originated from a damaged section of flashing around the chimney. The flashing had cracked over time, allowing water to seep into the roofing system.
3. Providing a Solution:
- The roofing experts at Eastwood Roofing Repairs discussed the issue with the homeowner and recommended replacing the damaged flashing with new, weather-resistant materials. The homeowner agreed to proceed with the repair.
4. Gathering Materials:
- The necessary materials, including new flashing, roofing sealant, nails, and safety equipment, were gathered to ensure a smooth and efficient repair.
5. Preparing the Area:
- The roofing team ensured the area around the chimney was clear and safe for work. Safety precautions were taken, such as securing ladders and wearing appropriate gear.
6. Removing Old Flashing:
- The damaged flashing was carefully removed using proper tools, including a roofing hammer and pry bar. Care was taken to avoid causing additional damage to the surrounding roofing materials.
7. Cleaning and Inspecting:
- The exposed area was cleaned of any debris, old sealant, and remnants of the damaged flashing. The underlying roofing materials were inspected for any signs of wear or water damage.
8. Installing New Flashing:
- New flashing was measured, cut, and carefully installed around the chimney. The roofing team ensured a proper fit and secure attachment to prevent future leaks.
9. Sealing and Securing:
- High-quality roofing sealant was applied to seal the edges of the new flashing and create a watertight barrier. Nails were used to secure the flashing in place.
10. Final Inspection:
- The repaired area was inspected again to ensure the flashing was installed correctly, sealed, and defect-free.
11. Restoring the Ceiling:
- The interior water stains were addressed by repairing and repainting the affected portion of the living room ceiling.
Conclusion: This case study of repairing a leaking roof with Eastwood Roofing Repairs illustrates professionals’ meticulous and systematic approach to addressing roof leaks. From initial assessment to final inspection, each step is critical to ensuring a successful repair and restoring your home’s protection against the elements. When faced with a leaking roof, partnering with experienced roofing experts can make all the difference in safeguarding your home and peace of mind.
Call us on: 01773 300 896
Click here to find out more about Eastwood Roofing Repairs
Click here to complete our contact form and see how we can help with your roofing needs.

